Camera Settings For Sunset: Ready Settings List
Last Updated on April 16, 2025

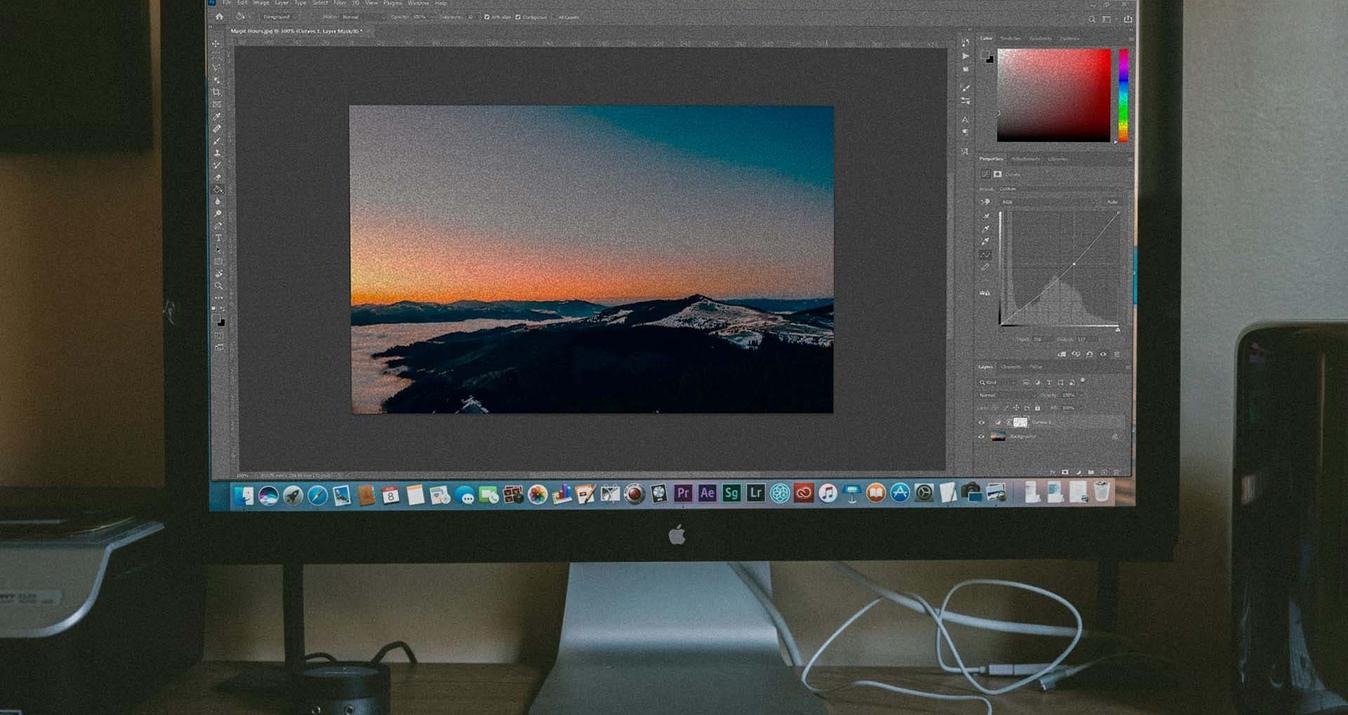
Want stunning sunset photos? Learn the best gear, settings, and composition tips to capture breathtaking sunsets like a pro.
Every photography enthusiast has, sooner or later, grappled with the fateful question, "How to take sunset photos?” trying to create a breathtaking shot like those you see on Instagram. You all know about the "golden hours," when the sun rises and sets, offering its best light and colors.
In this article, you will find tips for equipment, sunset photo settings, and composition to take unforgettable photos.
What You Should Know Before Starting?
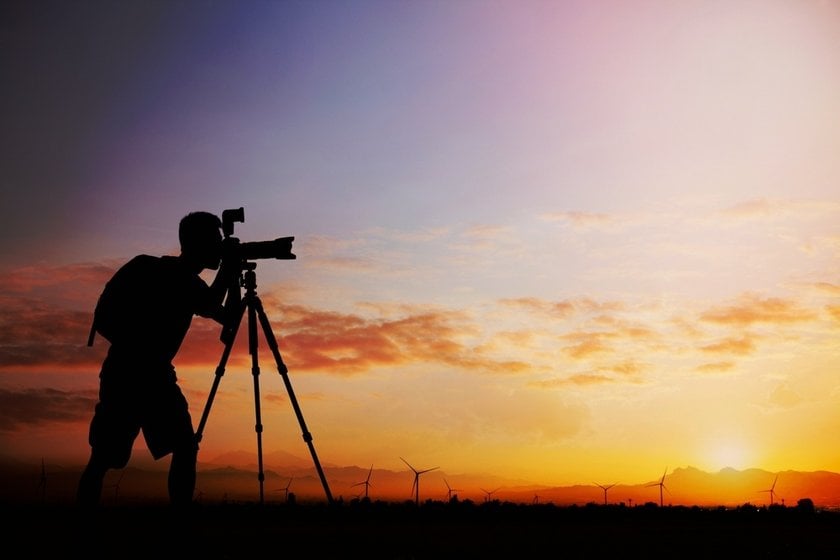
Before starting the shooting, look for a particularly interesting area where you can see the sunset and have the opportunity to include foreground elements and silhouettes.
Reading this article, you will discover more about sunset photography tips and how to manage your camera settings. The secret is to capture the colors as they appear to your eyes and not as the camera thinks they should be. For example, adjust your basic exposure settings to suit the scene's conditions, especially in extreme lighting. Below, you will find the best settings for sunset photography, like:
switch to manual (M) mode;
set ISO to 100;
adjust the shutter speed to 1/30s or longer;
use a wide-angle lens (18-24 mm);
set manual focus;
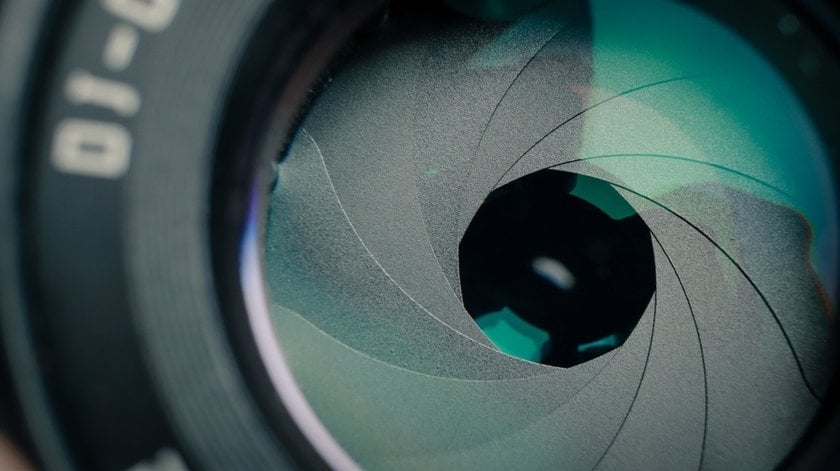
choose f/16 aperture;
select daylight WB settings;
mount your tripod for stability.
The satisfaction of manually setting your camera and finding the optimal conditions for photographing sunsets is priceless. If you're curious about sunset photography description, continue to read this guide.
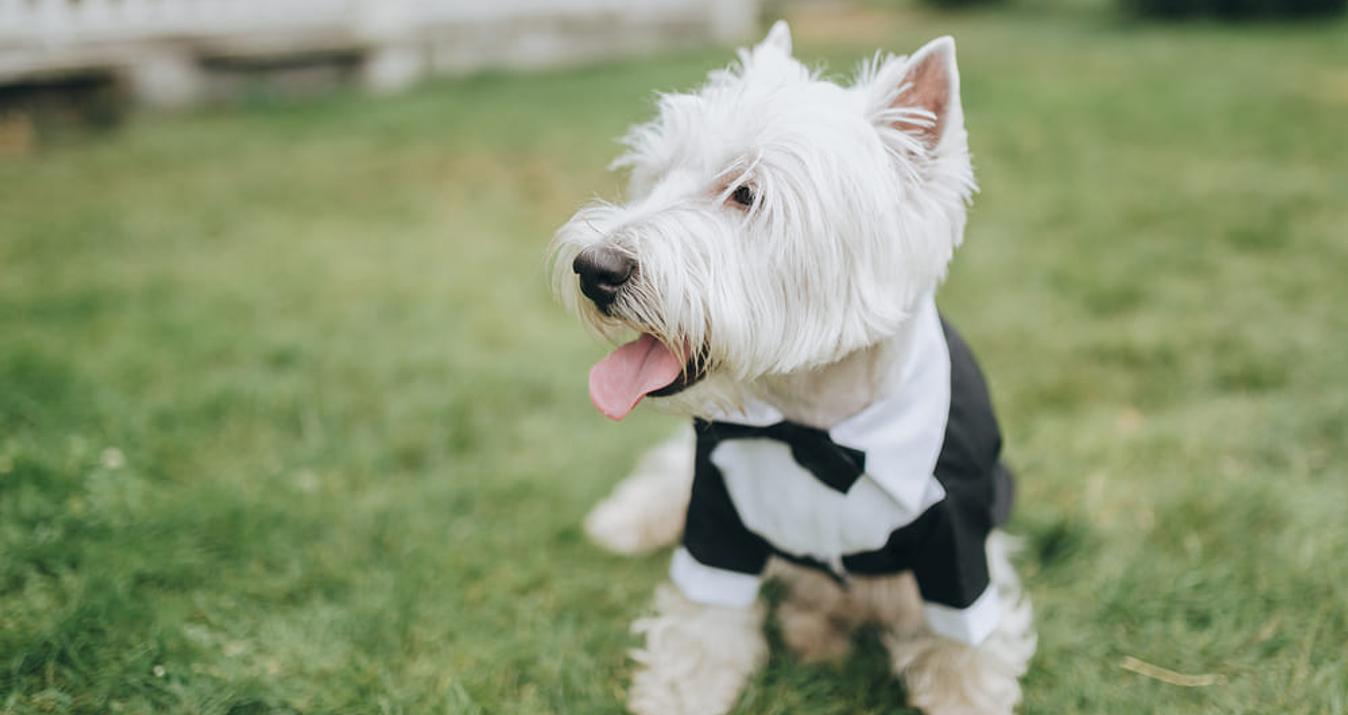
Choosing the Right Camera Settings for Sunset Portraits
The golden hour effect provides natural, soft illumination for your shots. The blue hour after sunset offers rich, moody tones, creating the shot's full range of colors and detail.
Arriving early lets you fine-tune your DSLR sunset settings before the light changes. The fundamental elements are ISO, shutter speed for sunset, aperture, white balance, light, and exposure.
Setting | Recommended Values | Why It Matters |
ISO | 100-200 | Keeps image quality high by reducing noise. |
Shutter Speed | 1/30s - 1/100s (or slower with tripod) | Controls motion blur; slower speeds help capture richer colors. |
Aperture | f/8 - f/16 for landscapes, f/2.8 - f/5.6 for portraits | Affects depth of field and sharpness. |
White Balance | Daylight (5500K) or Cloudy (6000-7000K) | Enhances the warm tones of the sunset. |
Focus Mode | Manual Focus | Prevents autofocus struggles in low light. |
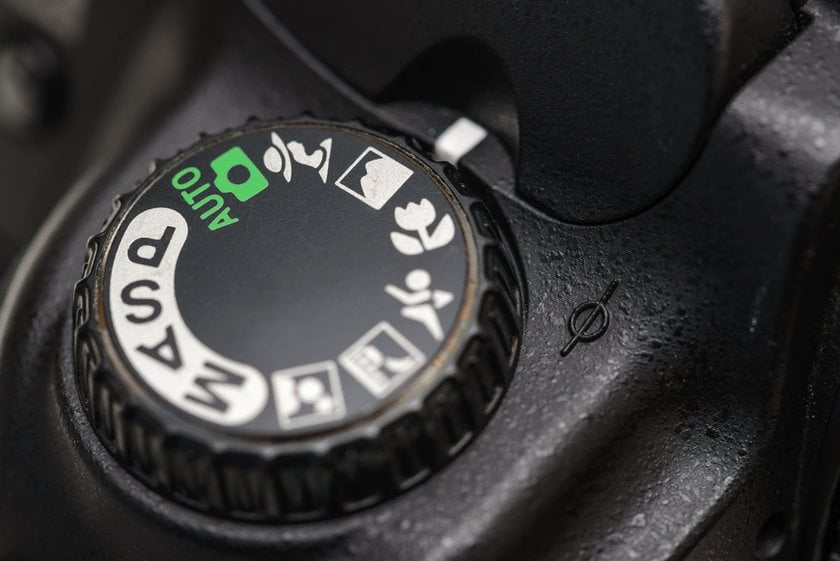
There is a risk of gross errors when adjusting the aperture and/or shutter speed. To avoid them, especially if you are a beginner, we recommend you activate the “Aperture Priority” mode – A (if you have Nikon) or AV (if you have Canon).
A narrow aperture (f/8 to f/16) helps keep foreground and background elements sharp in a landscape shot. Conversely, if you're photographing a person in front of the sunset, a wider aperture (f/2.8 to f/5.6) helps separate them from the background with a beautiful bokeh effect.
Start with a shutter speed no higher than 1/100 and gradually decrease. Due to the discontinuity of the sky, the camera often cannot focus. The best solution is to set the lens to manual focus and the infinity value.
Exposure: Why There’s No “Correct” Setting
It is the most complicated part for photographers and any camera. Regarding sunsets, no exposure is "correct." It depends on the type of shot you want to get. In most cases, the same sunset photographed by different people will have a different result. Both can be effective and expressive.
We recommend measuring the exposure on the sides of the sun by excluding it from the measurement. Then, use the appropriate AE-L button to average or block the results. Check the shot from the histogram to ensure you haven't burned the highlights or lost the shadows. For this, set the camera to Spot metering.
Another tip is to underexpose by a stop or two, making the colors appear richer and the scene more dramatic.
Help yourself with the composition with the Rule of Thirds. Imagine the scene divided by two vertical lines and two horizontal lines that create nine sectors of equal size. The four points where these lines intersect are called strong points. Position the Sun on these points. In this way, the horizon line will not be in the center of the image but at 1/3 of the lower part. If the sky is not very interesting, you can strengthen the lower part of the image by positioning the horizon on the upper line at 2/3 of the image.
The trick is to keep the horizon straight. Concentrate on the outline, and try to create a clean scene by removing disturbing elements. Sometimes, you just need to move a few meters to change the frame completely.
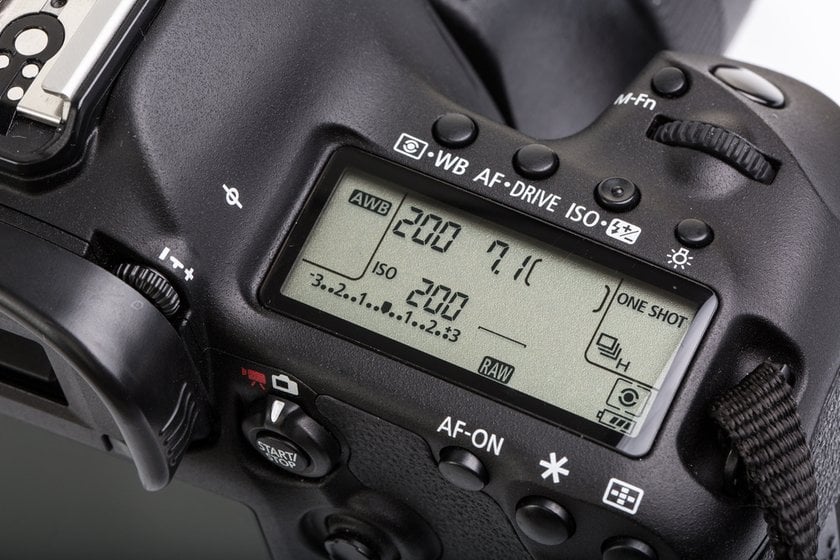
How to Set ISO Sensitivity at Sunset
Keep the ISO between 100 and 200 as long as the sun is still visible, or at least a small portion. When the sun has completely set but most of the colors reflected in the sky are still visible, the sensitivity increases to 400 or 800. Don't overdo it; your photo will be filled with digital noise. Using a tripod, you can lower the ISO by increasing the exposure time without risking micro-blur.
If each photo shows too light or washed-out colors, activate the “Exposure Compensation” mode. The best camera settings for sunset are -1 or -2 EV. If the colors are too dark, compensate by setting it to +1 0 + 2 EV. Work on the correct exposure in post-production.
AI picture enhancer allows users to adjust numerous image aspects through one basic slider by automatically optimizing shadows, highlights, contrast, and other features. The automatic color features allow photographers to bring more vibrancy to sky shots.
The Importance of White Balance
If you shoot in RAW, do not worry too much about setting the correct white balance for sunset. You can easily change the color temperature without sacrificing quality.
Set the WB to manual if you shoot in JPG or want a nice, strong orange color temperature during the shooting phase. Then, enter the white balance setting and set the color temperature between 7000-11000 K.
If you aren't satisfied with your results, you can try changing the hue of an image during editing by adjusting the WB (white balance).
Which Lens to Use: A Wide Angle or a Telephoto?
Both can work. To capture the sun and isolate the scene, choose a high focal length — a telephoto lens with a minimum focal length of 200 mm, 300 mm, or 400 mm. A low focal length, like 50 mm or less, will be ideal for contextualizing the sunset.
Are you planning to shoot indoors and want to get the best possible pictures? Check out our best settings for indoor photography.
Equipment for Good Sunset Photographs
It all depends on the lens you want to use and the technique you use. A tripod is a perfect solution, especially if you have a telephoto lens 200 mm or higher. Since the main function of the tripod is to avoid motion blur, we strongly advise against buying cheap, plastic products of dubious origin.
A good tripod must be heavy and stable, with a large and generous attachment plate to the reflex, possibly in aluminum or other high-density material. A light and unstable tripod will only make us nervous, put our equipment in danger, and make us mess up an excellent sunset photograph. The most used brands are:
Manfrotto.
BENRO.
Gitzo etc.
The remote control is another useful accessory for photographing the sunset, particularly in the HDR technique. This product triggers the camera shutter remotely, avoiding the annoying micro-blur caused by our pressure on the shutter. There are various models, wired or infrared, depending on the predisposition of our camera.
Photographic Filters
People who prefer taking landscape photographs usually invest in GND and ND filters plus a polarizing filter. It looks like a very dark gray glass and screws into the front of our lens. The polarizer exists to block unwanted light beams thanks to its reflective lens.
Have you observed that you cannot see the ocean floor during your sea photographs? Light reflections from the water's surface produce this effect. A polarizer filter installed on the lens will block reflections and show the underwater object.
Graduated neutral density filters (GND) let you balance brightness changes between the sky and background because they're transparent at one end and dark at the other. There are different models based on two factors of intensity:
the shade (soft, medium, or hard);
the brightness that it removes.
Neutral density filters (ND) remove brightness from the scene. They allow you to set it for longer periods without burning the photo. You can create particular effects in long exposure: the silk effect on water or the movement of clouds.
Unlike GND filters, ND filters do not have the shade, so you must pick based on how much light it removes.
Planning the Perfect Shot
Photographing the sunset requires precise planning. First, check the weather forecast to avoid rain or storms that could obscure the scene. You have a limited time during sunset, so arriving a little early to choose the composition and prepare the equipment is better. Use mobile applications to help you plan the sun's position. For the precise times of sunset and golden hours, download SunSeeker or PhotoPills.